.png/:/rs=h:120,cg:true,m/qt=q:95)
Sentinel Storage Unit Clearout: WSS Junk Removal Solution
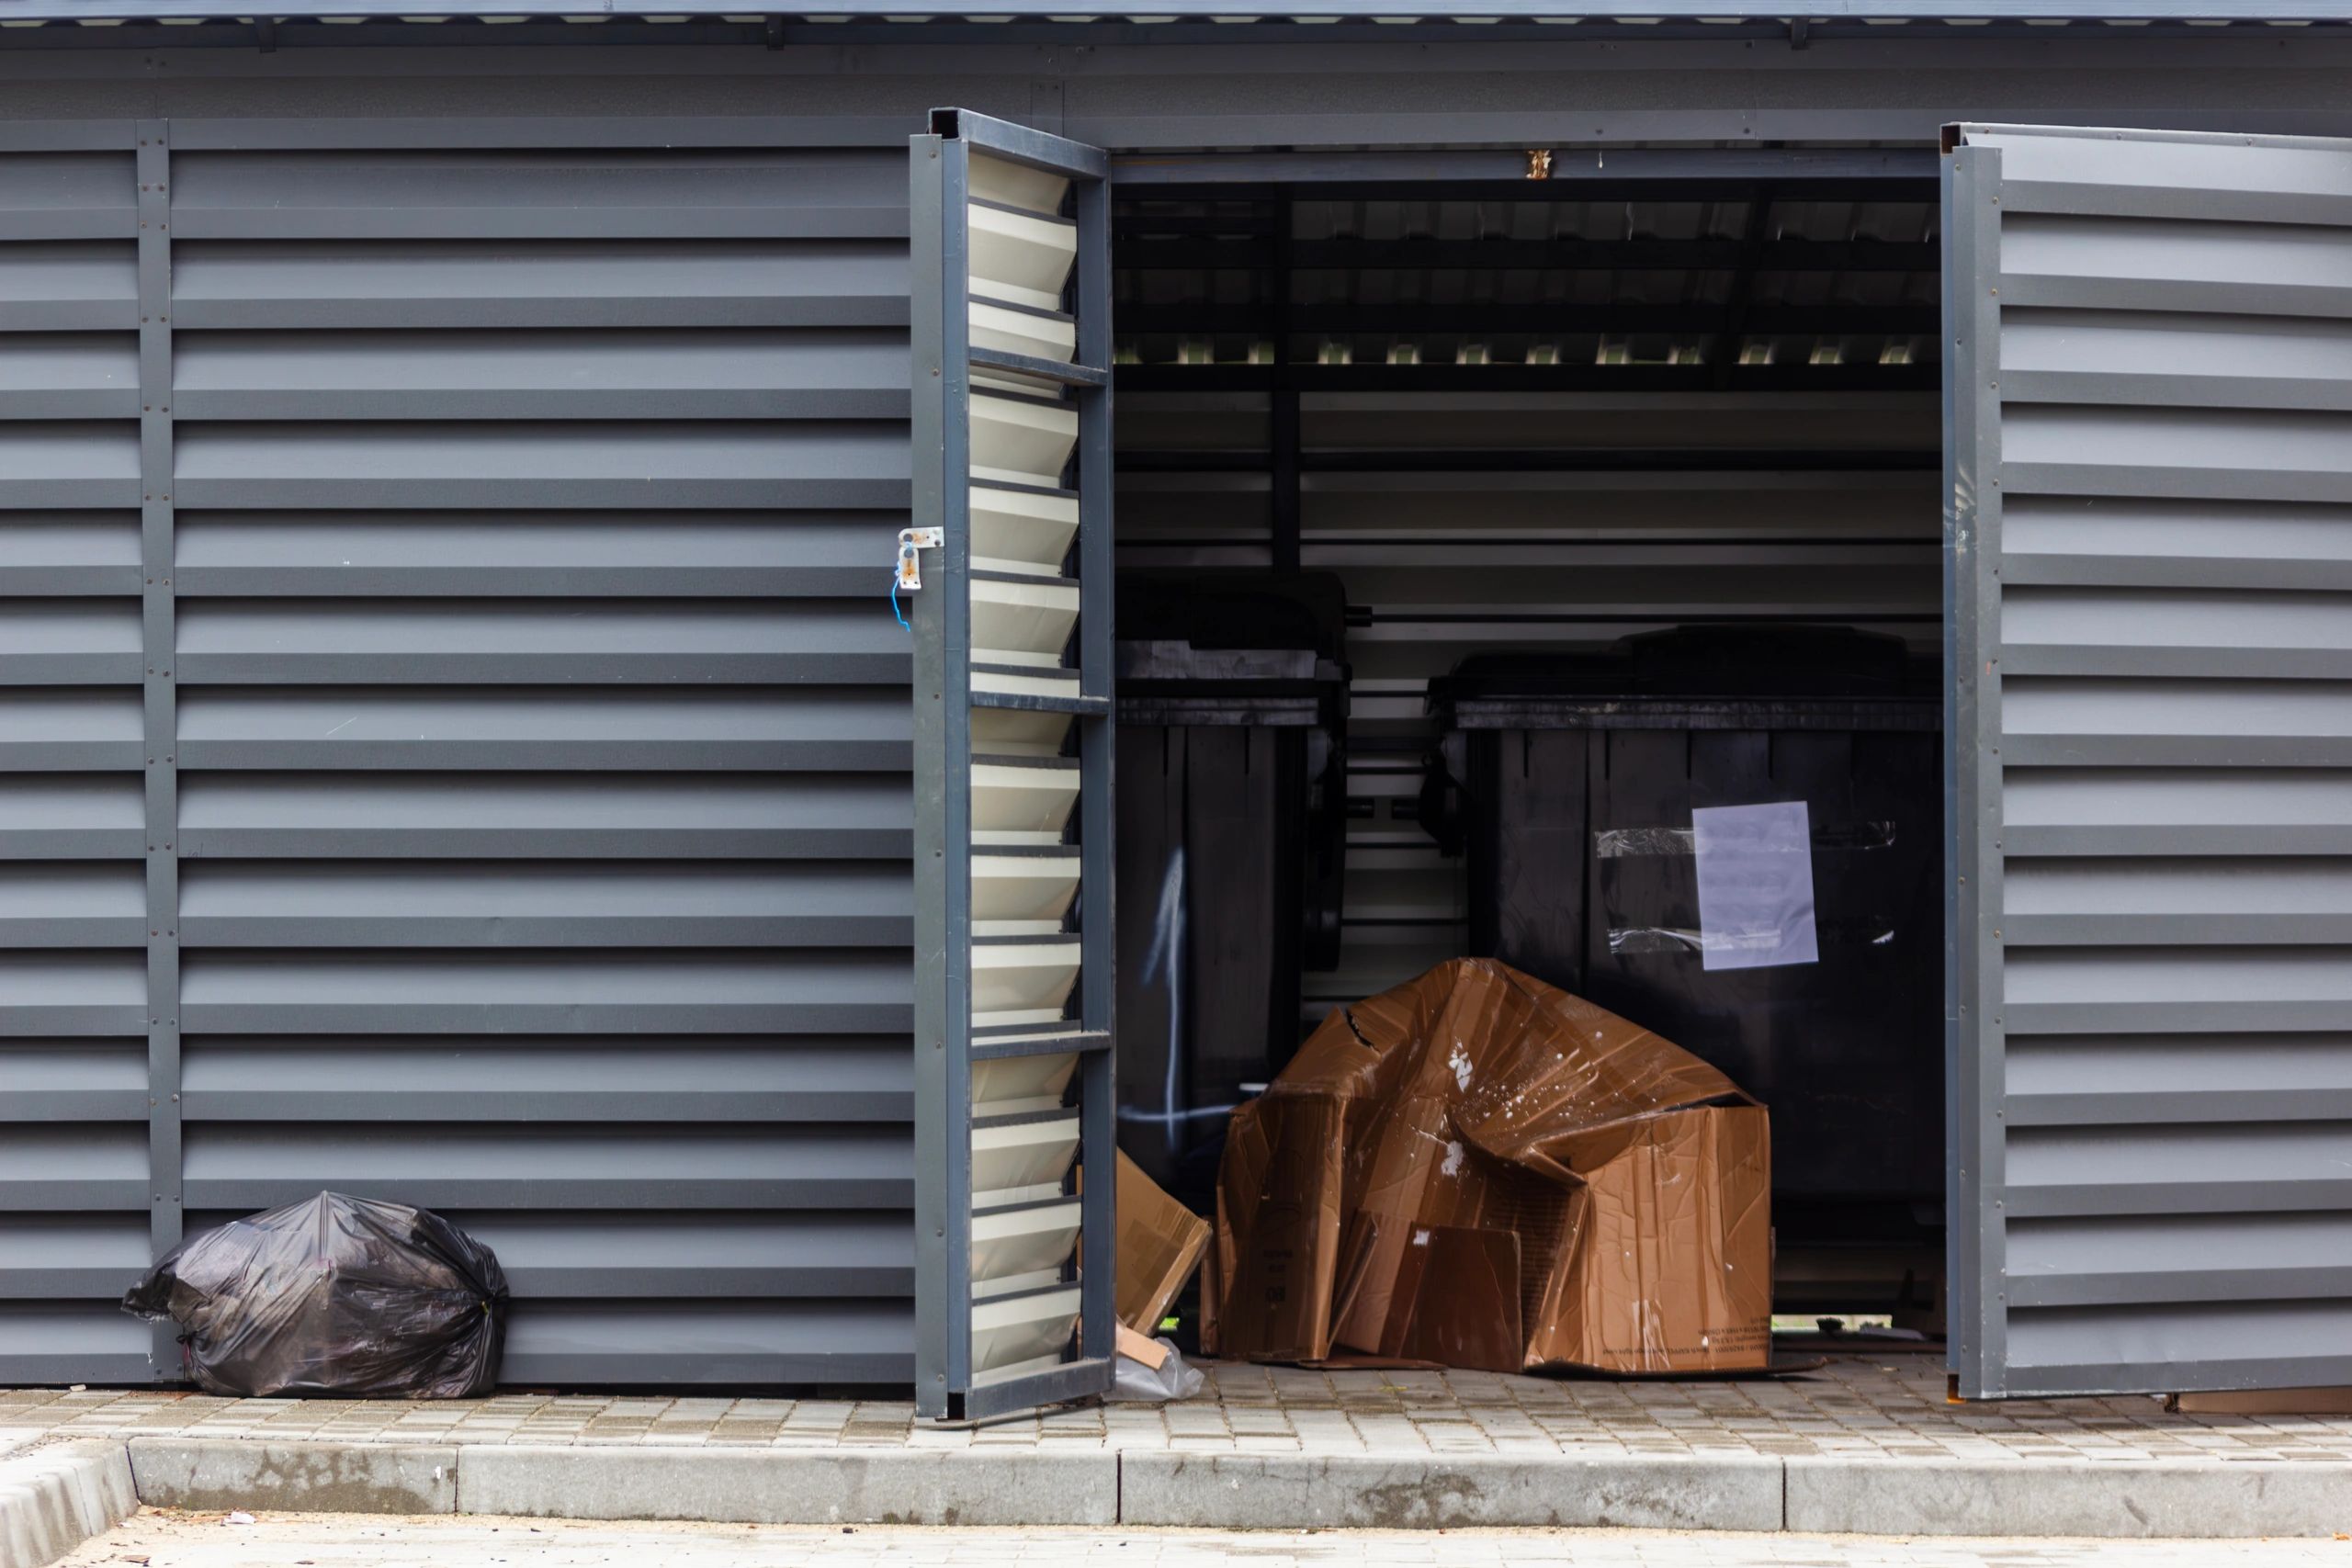
The Hidden Cost of Packed Storage: Why a Strategic Clearout Matters
A cluttered storage unit might seem like a harmless problem, but it can quietly drain your budget and peace of mind—especially in high-demand urban areas like Montreal and Toronto, where monthly rental fees add up fast. Many people rent a unit with good intentions: seasonal items, furniture during a move, or boxes of keepsakes. But over time, access becomes difficult, items are forgotten, and the space transforms into a costly catch-all. Without a clear plan, the chaos multiplies—mold builds on damp boxes, electronics deteriorate, and old furniture blocks walkways.
Beyond the physical mess, there’s financial and legal risk. Unused space equals wasted money, sometimes hundreds per year. More critically, improper disposal of items like paint, propane tanks, or outdated electronics can violate local Quebec and Ontario waste regulations. The longer you wait, the harder it becomes to sort, decide, and act. Decision fatigue sets in when faced with piles of unsorted belongings, especially during life transitions like downsizing, moving, or settling an estate.
This guide walks you through the smart, systematic way to approach a storage unit clearout, helping you identify what to keep, donate, recycle, or remove—safely and responsibly. You’ll learn how to avoid common pitfalls, reduce environmental impact, and save on labor and disposal costs. Most importantly, you’ll regain control of your space, time, and budget—without the stress.
Master the Clearout: A Step-by-Step Plan for Efficiently Emptying Your Storage Unit
Tackling a storage unit clearout doesn't need to be overwhelming. With a structured approach, you can streamline the process, reduce stress, and avoid unnecessary fees—especially in high-demand areas like Montreal and Toronto, where storage space and rental costs increase rapidly. Follow these proven steps to efficiently clear out your unit while staying safe and compliant.
- Ensure Access and Plan Timing Contact your storage facility to confirm your access hours and entry codes. If you cannot be present in person, ensure the unit is unlocked and clearly identified for service teams. Schedule your clearout early in the week, in the morning, to avoid crowds and improve collection efficiency.
- Sort Using the Four-Box Method Divide items into four clear categories: Keep, Donate, Recycle, and Dispose. Work by sections—start in one corner and move systematically to avoid covering the same area twice. Use labeled bins or designated floor sections to keep groups separate and reduce decision fatigue.
- Dismantle and Consolidate Bulky Items Take apart large furniture such as bunk beds, bookshelves, and cabinets. Dismantling saves space in the removal truck, reduces weight, and often lowers disposal costs. Keep screws and hardware in labeled bags attached to the corresponding pieces.
- Set Aside Hazardous and Restricted Materials Items such as motor oil, solvents, propane tanks, and lithium batteries are not accepted in standard removal service. Identify and remove these early, then take them to designated drop-off locations in your city for safe and compliant disposal.
- Optimize Loading and Final Sweep Place the heaviest debris at the back of the removal truck to maintain proper weight balance. Stack lighter items on top and secure loose pieces to prevent shifting. Once emptied, thoroughly clean the unit and inspect for overlooked debris or corners—many facilities check cleanliness before returning deposits.
By following these steps, you'll ensure a faster, safer, and more cost-effective clearout—freeing up valuable space, time, and monthly rental fees.
Why Compliance and Certification Are Essential in Junk Removal
Handling a storage unit clearout goes beyond just removing junk—it’s about acting responsibly and within local regulations. In urban centers like Montreal and Toronto, waste disposal is governed by strict provincial and municipal standards designed to protect public health, safety, and the environment. Choosing a certified removal service ensures adherence to these rules, reducing legal and environmental risks.
Certified operators are trained to identify and manage problematic materials such as electronics, refrigerants, paints, and pressurized cylinders—items that cannot legally be landfilled and require specialized handling. These professionals hold the proper transport permits and document each removal, ensuring every load is traceable and processed at approved facilities.
Beyond regulatory compliance, certification reflects a commitment to sustainable practices. Certified teams prioritize source sorting, diverting reusable furniture, metals, and recyclable materials from landfills. This not only reduces environmental impact but can also support local charities through donation programs.
For individuals clearing a storage unit, using a certified service helps avoid accidental violations, potential fines, and long-term liability. It also ensures safer working conditions during removal, especially in confined spaces where improper lifting or exposure to hazardous materials can lead to injury. When planning your next removal service, choose providers who demonstrate compliance through certification—your peace of mind and the planet will thank you.
7 Common Items Found in Storage Units and How to Dispose of Them Responsibly
When clearing out a storage unit, knowing what’s inside—and how to handle it—is key to a smooth, compliant, and eco-friendly junk removal process. In high-density urban areas like Montreal and Toronto, regulations around waste disposal are strict, making proper sorting essential. Below are seven frequently encountered items and practical tips for disposing of them the right way.
- Old Furniture (Sofas, Dressers, Mattresses) Bulky and often outdated, furniture takes up significant space and can degrade over time. Wooden pieces in good condition can be donated to local charities or shelters. Damaged or stained items should be hauled by services that route recyclable components—like metal frames and wood—to processing centers. Mattresses require special handling due to layered materials (foam, fiber, springs) and should be sent to certified recycling facilities.
- Electronic Devices (TVs, Computers, Printers) E-waste contains hazardous materials like lead and mercury, making landfill disposal illegal in many regions. These items must be processed through approved electronic waste recycling programs. Keep cords bundled and devices intact for proper disassembly and material recovery.
- Appliances (Refrigerators, Washers, Dryers) Large appliances, or “bulky whites,” often contain refrigerants, oils, or insulating foam that require extraction before recycling. In Quebec and Ontario, certified haulers are trained to manage these safely. Older models may also contain valuable scrap metal, further justifying responsible disposal.
- Cardboard Boxes and Packing Materials Accumulated boxes attract pests and mold, especially in humid conditions. Flatten and bundle clean cardboard for recycling. Avoid mixing with soiled or taped materials. Shredded paper from packing should be bagged and labeled separately if not pre-shredded for privacy.
- Holiday Decorations and Seasonal Items Broken lights, worn fabric, and plastic ornaments can’t go in curbside bins. Functional lights can be reused or donated for craft projects. Damaged décor should be separated—metal and plastic parts routed to recycling, while hazardous wiring is treated as e-waste.
- Construction Debris (Drywall, Wood, Metal Scraps) Found after renovations, these materials require proper segregation. Treated wood and drywall may contain regulated compounds and should never be mixed with general waste. Metal scraps are valuable for recycling and often accepted by specialized yards.
- Personal Documents and Files Paper clutter is common in long-term units. Sensitive records should be shredded before disposal to prevent identity theft. Non-sensitive paper can be baled and recycled, reducing volume and hauling costs.
By identifying these common items early and planning their disposal, you streamline your storage unit clearout, stay compliant, and contribute to sustainable waste management.
Your Questions About Storage Unit Clearouts, Clear and Practical Answers
How long does a complete storage unit clearout typically take in Montreal or Toronto? Most professional services can respond within 24 to 48 hours after booking, with same-day options available for emergencies. The removal process typically takes between 1 to 3 hours, depending on the unit size and amount of belongings. To avoid delays, especially during peak seasons (spring, year-end), plan ahead and ensure clear access to the location.
Do I need to be present during my storage unit cleanup? Your presence is not mandatory, but it is highly recommended that you remove valuable items, personal documents, or sensitive belongings yourself before the team arrives. If you cannot attend, unlock the unit, clearly mark it, and organize areas to keep or remove to prevent misunderstandings.
What disposal method is used for furniture, appliances, and electronics? Furniture in good condition is typically sent to local charitable organizations. Appliances are dismantled according to Ontario and Quebec standards, with safe refrigerant extraction and metal recycling. Electronics are handled through certified e-waste programs to recover components and prevent contamination.
Are hazardous materials like paint or batteries included in the service? No. Hazardous waste (oil-based paint, propane tanks, lead or lithium batteries) cannot be processed during a standard pickup. These items must be taken to designated municipal drop-off centers for safe and compliant disposal.
Is cleaning included after the removal? Yes, a full-service removal includes a final sweep, debris removal, and inspection of corners and baseboards. A clean space is essential, especially if you're ending a lease or preparing for re-rental—many facilities require a clean return condition.
How can I reduce the cost of my storage unit removal? Here are four proven strategies:
- Sort beforehand into categories: Keep, Donate, Recycle, Dispose
- Dismantle bulky furniture (beds, cabinets) to reduce volume
- Remove especially heavy or recyclable items (metal, cardboard) yourself
- Schedule service outside peak times (early in the week, outside moving seasons)
Make It Official: Your Storage Unit Clearout Ends with Confidence and Clarity
You’ve sorted, categorized, and prepared your unit for removal—now it’s time to ensure the final steps deliver lasting results. A successful storage unit clearout isn’t just about hauling away junk; it’s about closing the chapter responsibly and stress-free. In high-demand areas like Montreal and Toronto, where space and compliance matter, choosing a solution that prioritizes transparency, proper disposal, and thorough site cleanup makes all the difference. The right service handles logistics seamlessly, so you don’t have to coordinate multiple drop-offs or worry about rejected loads.
Look for providers who follow strict protocols for sorting recyclables, donating usable items, and disposing of non-recoverable waste through approved channels. This ensures adherence to Quebec and Ontario waste regulations while reducing environmental impact. Certified handlers also manage hazardous materials safely—like old electronics or pressurized tanks—protecting you from liability. A final sweep of the unit, including floor cleaning and debris removal, guarantees a return-ready space and helps secure your deposit.
To move forward with confidence:
- Confirm full-service cleanup is included
- Verify donation and recycling documentation
- Choose same-day availability for faster resolution
- Opt for clear, up-front pricing with no hidden fees
Take control today. Schedule a compliant, efficient clearance that supports your peace of mind—and reclaim not just space, but simplicity.